Back to blog

Sooner or later it happens: a kernel update that will not boot, a wrong line in /etc/fstab, a firewall rule that locks you out. The server is there, so is your data, but you cannot get in. Or you need an operating system that is not among the one-click installs.
The DeluxHost Cloud panel has the tools to sort it out yourself. You find them on the server's page, Advanced tab, Recovery section.
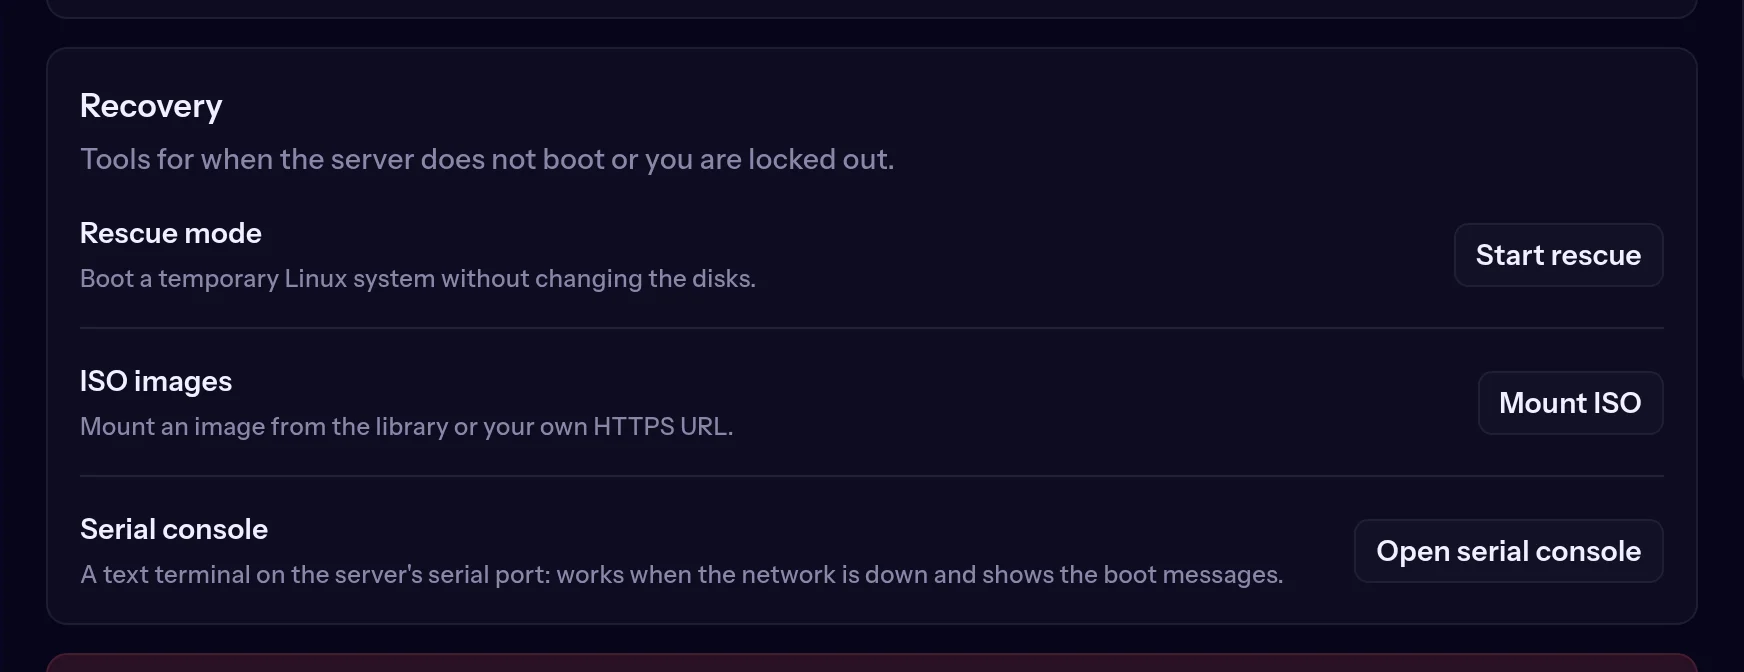 The Recovery section: rescue mode, ISO and serial console
Rescue mode: a Linux to the rescue
Rescue mode restarts the server into a temporary Linux system instead of your own. Your disks are not touched or erased: they are simply not in use, so you can mount them and work on them.
Use it when the server no longer boots, to fix an fstab or a boot loader, to reset a password by hand, or to copy your data off before a reinstall.
- Press Start rescue and confirm. The server restarts into the rescue system.
- When it is up, the Rescue mode row shows a temporary SSH command and password to copy.
- Log in, find your disk and mount it:
lsblk -f                  # list disks and partitions
mount /dev/vda1 /mnt      # use the partition lsblk shows
- To work as if you were inside your own system, for example to change the root password or reinstall a package, use
chroot:
mount --bind /dev /mnt/dev && mount --bind /proc /mnt/proc && mount --bind /sys /mnt/sys
chroot /mnt
passwd root
exit
umount -R /mnt
- When you are done, press Exit rescue: the server boots from its own disk again.
Disk names differ from server to server: always check the lsblk output instead of copying the example.
Your own ISO
Mounting an ISO is like putting a CD in the server. Use it to install an operating system that is not offered, to boot a live system or a diagnostic tool, or to load drivers during an install.
In the ISO images row press Mount ISO and choose the image. On servers that allow it you can also use your own ISO from an HTTPS address: choose Custom URL and paste the direct link to the .iso file. The panel checks it before mounting and tells you what is wrong.
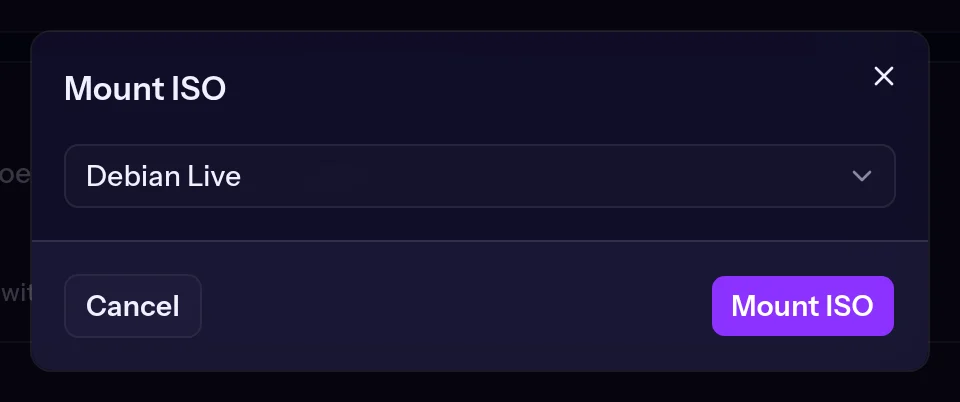 Mounting an ISO from the panel
Mounting does not restart the server: restart it from the Controls card and follow the boot in the console. On servers that support it you can also choose whether to boot from the CD or the disk first, handy for installs that reboot several times, such as Windows. When you are done, press Eject ISO.
Careful: installing a system from an ISO erases the disk you install to. Take a backup first if you need the data.
The console: see what a screen would show
With rescue mode or an ISO alike, the VNC console in your browser shows the server's screen as if you were sitting at the machine: the boot, the errors, the installer. It works even when the server's network is down or SSH does not answer. From the bar at the top you can paste text, send key combinations such as Ctrl+Alt+Del and reconnect.
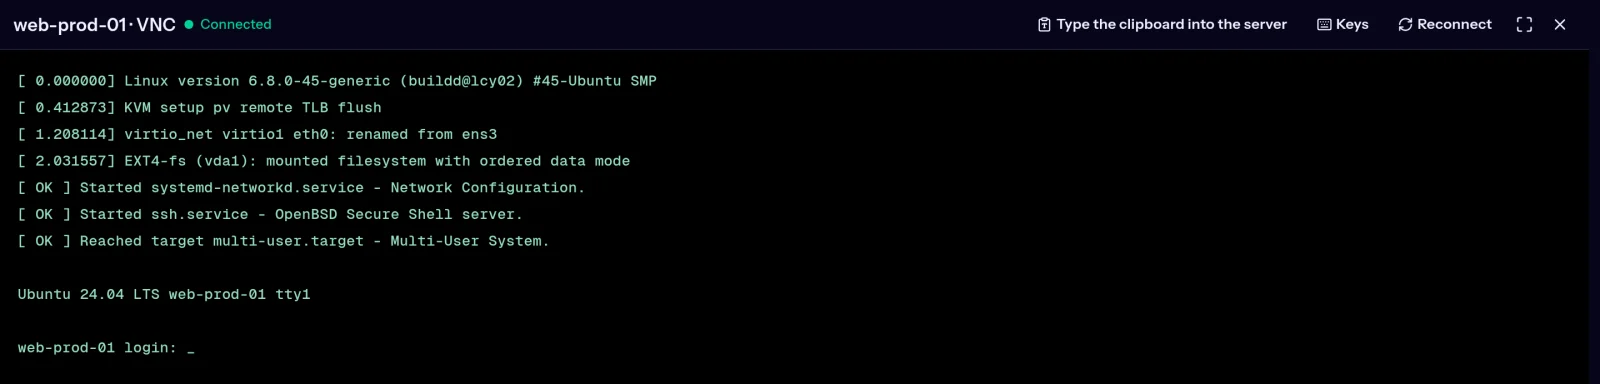 The VNC console in the browser
There is also the serial console, a text terminal on the server's serial port that shows the boot messages.
When to use what
- The server will not boot or you cannot log in: rescue mode, then repair from the rescue system.
- You want an operating system that is not on the list: mount its ISO and install it from the console.
- You just want to see what happens at boot: open the VNC or serial console.
- You want to start over with a system from the list: reinstall the OS from the same Advanced tab.
If the server still will not boot after your repair, open a ticket with what you changed and what the console shows: it saves us both time.
It is all on the Advanced tab of every server at cloud.deluxhost.net.